In a hurry? Start here
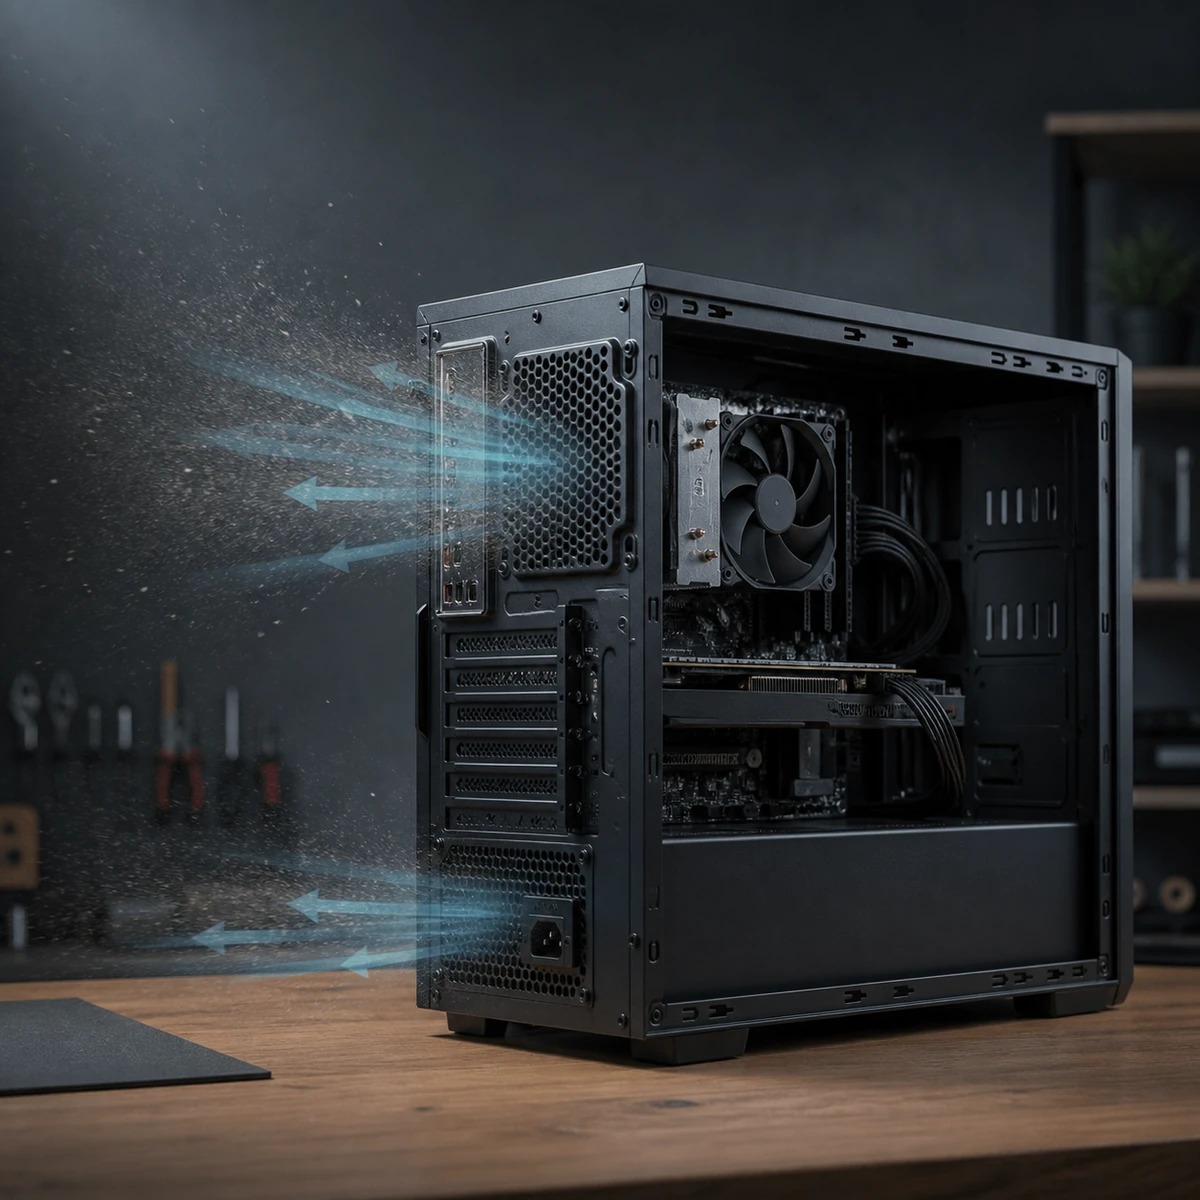
Turn the PC off, disconnect it, and let it cool before you open or clean it. Hold each fan blade still, start with the lowest useful airflow, and use short angled passes that move dust toward an opening rather than into the case. Keep the nozzle above the surface instead of sealing it against a grille. Work from the cleanest outside surfaces toward the dusty interior, keep the power supply closed, and place the case where loosened dust can leave the work area.
The method is simple, but direction matters. A strong stream aimed straight into a vent can drive particles farther into a heatsink, fan hub, or narrow gap. A controlled stream at an angle gives the dust a route out. If you cannot identify an exit path or safely hold a fan still, rearrange the work area or follow the computer maker’s service route first.
- Shut down, unplug, and cool the computer.
- Start farther away at a low setting and increase gradually.
- Hold exposed fan blades still with a nonconductive aid.
- Keep a visible gap so air and debris can escape.
- Never open the power-supply enclosure or introduce liquid.
Why dust gets pushed deeper
Dust does not disappear when it leaves a desktop PC; it moves. If the case is lying flat on a cluttered desk, air can bounce off the surface and send loosened debris into another opening. If the nozzle is pressed against a grille, there is little room for air to escape, so the jet can find the next path inside the case.
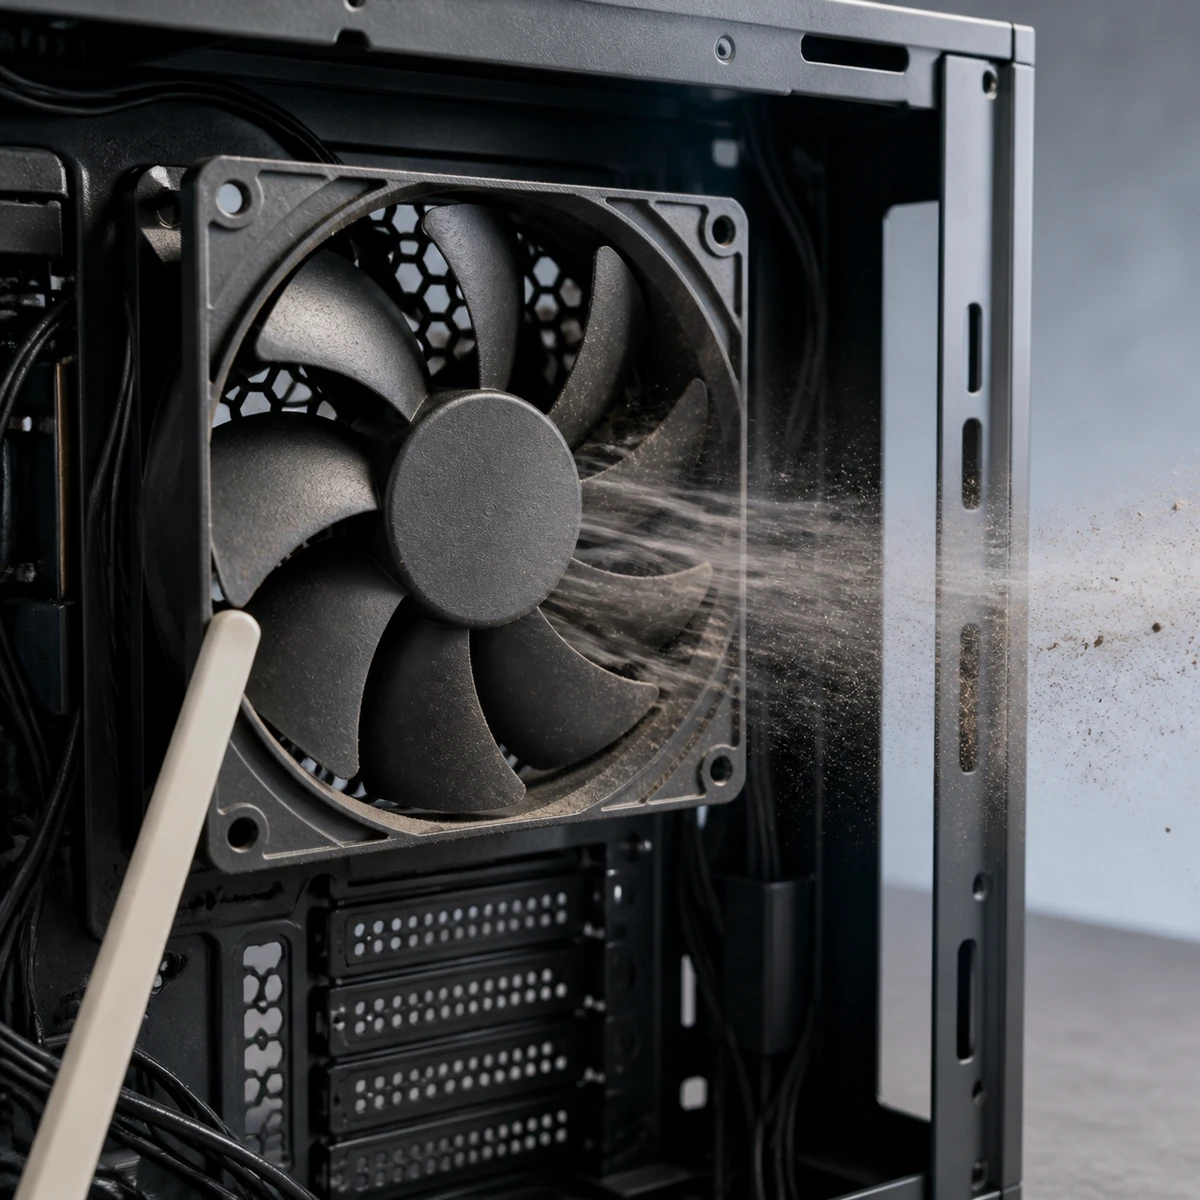
Fans add another problem. Air can make a disconnected fan spin quickly. That motion is not a useful cleaning goal and makes the airflow harder to control. Holding the blade or hub gently while using short bursts keeps the fan from becoming a small uncontrolled generator.
Create a visible dust path before starting. Open the side panel only when the computer maker’s instructions allow it and you are comfortable doing so. Keep the case upright, or use a stable position that lets debris fall outward. Leave space behind exhaust openings. A cloth or conventional vacuum can collect dust outside the case, but do not press a household vacuum nozzle against delicate components.
Prepare the PC and the work area
Shut down through the operating system, turn off the switch on the back if there is one, unplug the power cable, and disconnect accessories. Wait until the case and surrounding parts are cool. ASUS advises powering off and removing the power connection before cleaning and warns that strong airflow used from too short a distance can damage a fan blade. The same caution is sensible for a desktop: distance and control matter more than a dramatic blast.
Move the computer to a dry place where dust can leave the case without landing on food, bedding, or another open device. A well-ventilated work area can be convenient, but avoid damp conditions. Use eye protection if the case has not been cleaned for a long time. Do not spray liquid into a vent and do not clean a warm computer.
If you remove a side panel, keep the screws and panel together. Do not open the power-supply enclosure. Its interior can retain hazardous energy even when the cable is unplugged, and an air duster does not make opening it necessary.
Use short, angled passes
Clear the outside first with a soft, dry cloth around the case, intake, and exhaust grilles. Keep the cloth away from ports and never push a dry clump into a connector. Then hold the duster several inches away for a short test pass into open space. Increase output only when the dust is not moving; a gradual start gives you time to see where debris is going.
An air-only model such as the POWCUBE FT-03 air-only duster uses a stepless control slider, so the setting can be adjusted between low and high rather than jumping between fixed levels. Its stated 150,000 RPM maximum is a motor-speed figure, not a measurement of airflow at every nozzle. Pick the setting by the surface and dust path, not by the largest number on a product page.
Hold each fan blade still with a finger, a plastic stick, or another nonconductive tool against the fan frame. Do not force the blade, bend it, or touch a running fan. Use short bursts from an angle, pause between passes, and blow dust toward the nearest opening. Keep the nozzle moving instead of concentrating on one component.
- Start at the lowest useful output and test into open space.
- Hold a fan still before every short pass.
- Aim across heatsink fins so particles can leave between them.
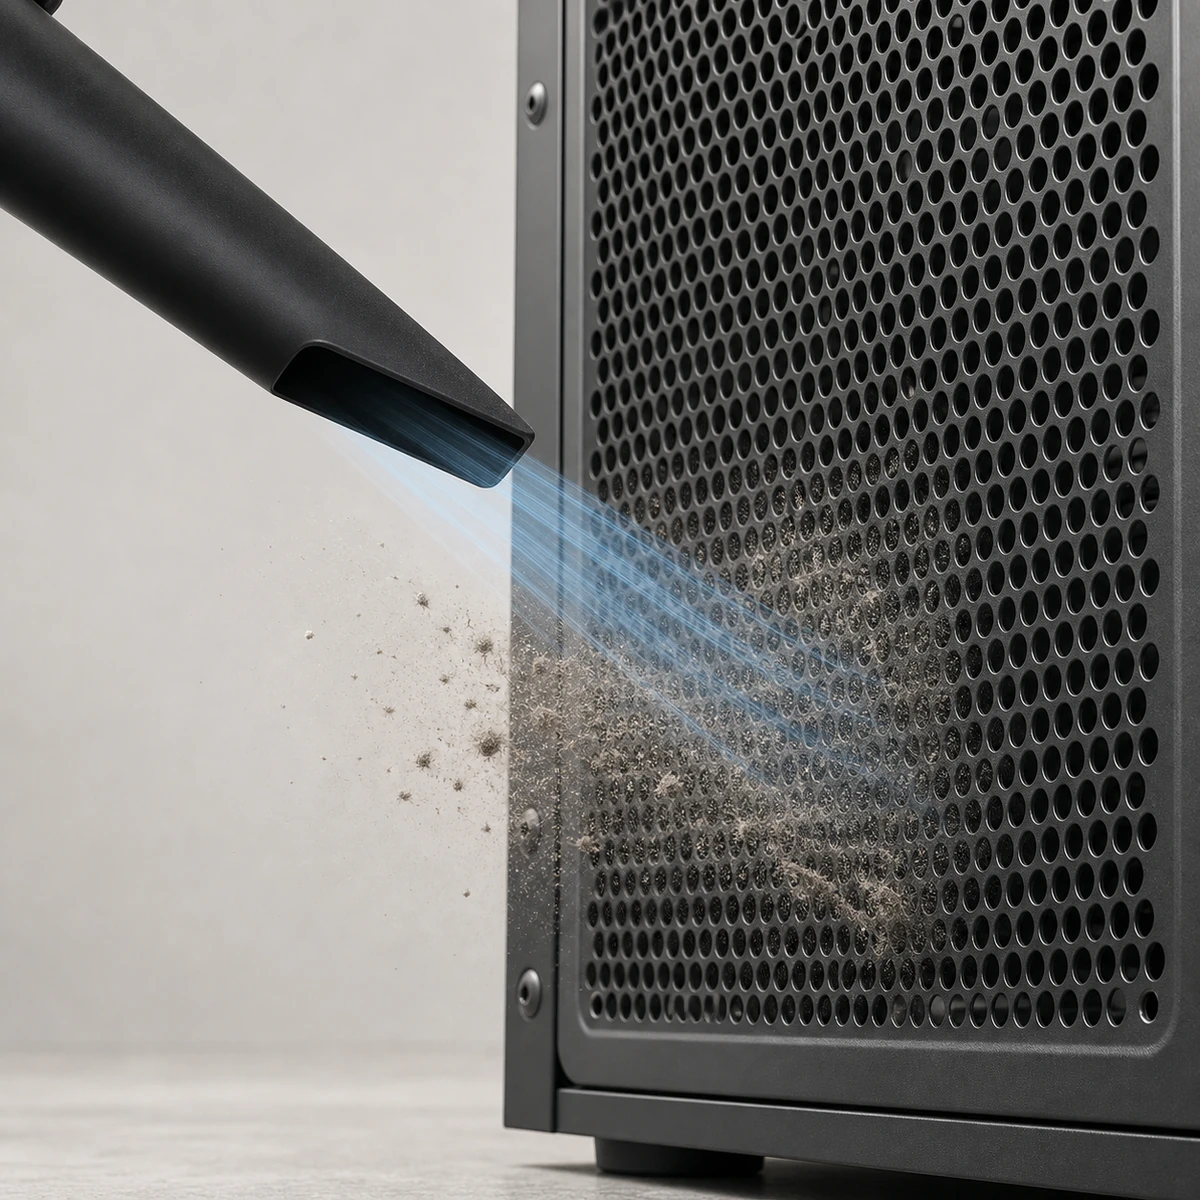
- Keep the nozzle above grilles and never seal the opening.
Protect the power supply, ports, and filters
Work from the top of the case toward the front, rear, and bottom. For a heatsink, aim across the fins. For a case grille, keep a small gap between the nozzle and the mesh. The goal is a stream of air with an exit route, not a sealed pressure chamber.
Treat the power supply as an outside-only area. Clean its external grille and surrounding vents without opening the enclosure; keep the airflow brief and directed outward. If a thick mat of dust is visible behind the grille, stop and use the computer maker’s service guidance rather than an improvised adapter.
Use the lowest setting that moves visible debris near ports and cable openings. Do not push an attachment into a USB port, fan hub, or card slot. If the computer has a removable dust filter, take it out only after checking how it releases. Clean and dry the filter completely before reinstalling it.
- Do not open or service the power-supply enclosure with an air duster.
- Keep attachments out of ports, slots, hubs, and moving parts.
- Clean removable filters separately and reinstall them only when dry.
- Stop if a component is loose, hot, damaged, or difficult to reach safely.
Choose the workflow that fits the job
The right tool depends on the cleanup pattern. An air-only duster suits someone who wants to loosen dust from a keyboard, grille, desk, or case and then collect it with a cloth or a separate vacuum outside the equipment. A blow-and-vacuum device suits a different sequence: loosen dry debris, then collect it from an accessible surface with the filter installed.
The POWCUBE FT-03 and FT06 comparison explains that distinction without treating one mode as universally better. Neither design replaces safe placement, a visible exit path, or the computer maker’s instructions. A rechargeable unit can make repeat cleaning easier than buying another disposable can, but that convenience does not prove that every surface is safe at every setting.
When comparing products, look for control style, compatible nozzles and brushes, charging instructions, filter care, and a stated use boundary. Read the computer manual and duster manual together. Keep RPM, airflow, pressure, noise, battery, and runtime as separate measures; do not turn a single motor-speed figure into a cleaning guarantee.
Finish outside the case and keep a checklist
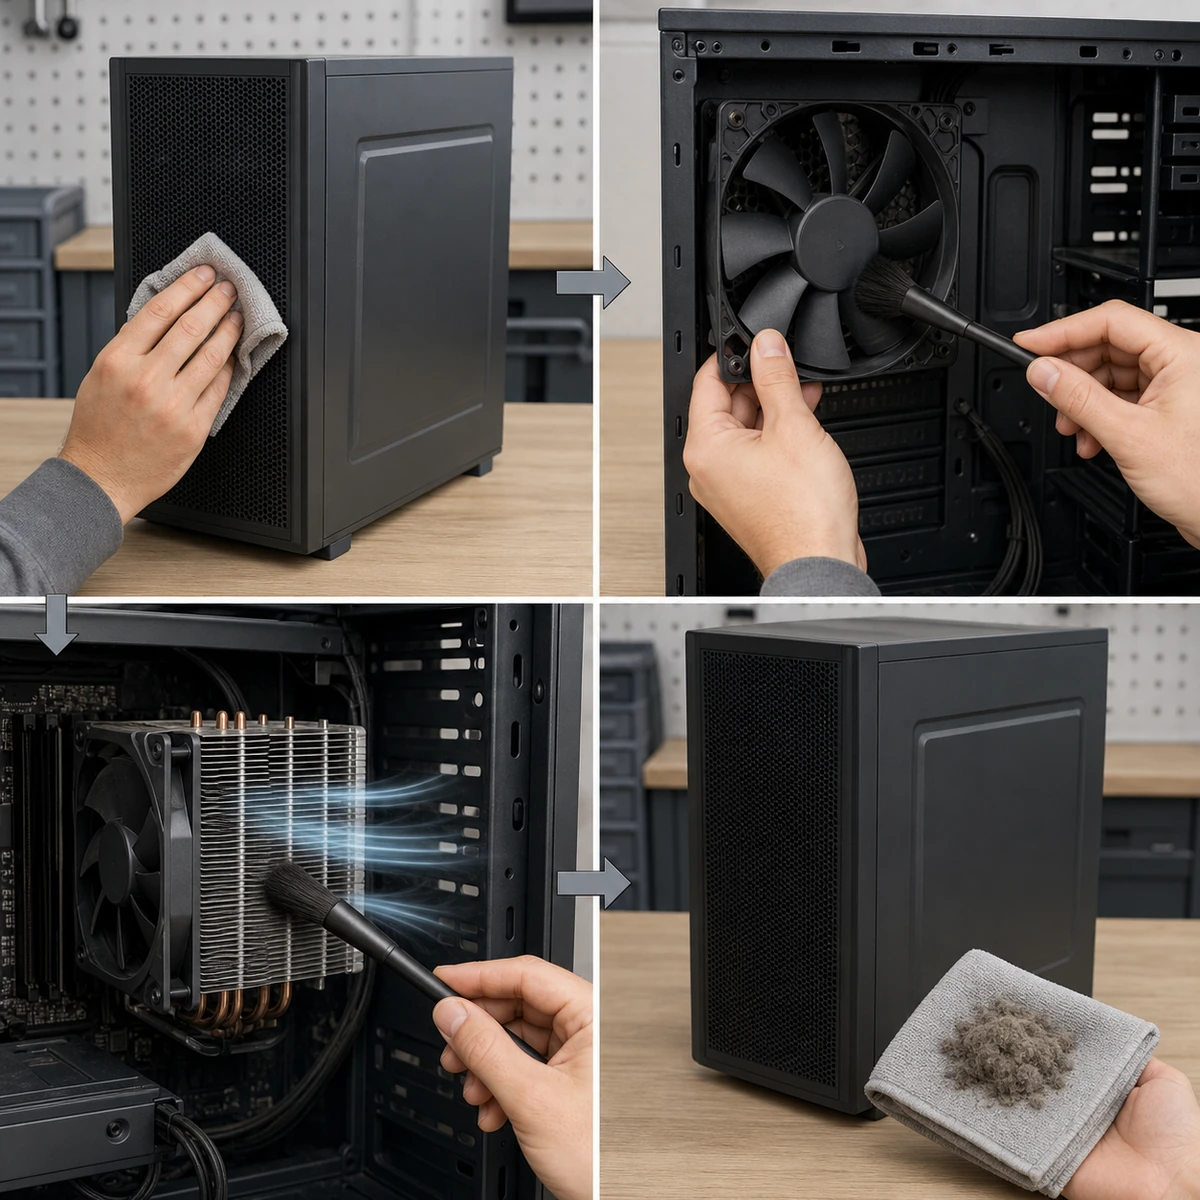
Once the case is closed, wipe the desk and outside surfaces. Look at the intake area from a low angle. A thin film that remains on a mesh filter is a cue for another gentle pass, not a reason to use maximum output at close range. Reconnect cables only after the case is stable and all cleaned parts are dry.
Keep this sequence beside the PC: shut down, unplug, and cool; move to a dry area; keep the power supply closed; begin with low airflow and a visible gap; hold every fan still; use short angled passes from a clean area toward an opening; keep attachments out of ports; dry filters fully; and wipe the desk after closing the case.
For model-specific charging and attachment reminders, read the POWCUBE Air Duster use and care guidance. If a part is loose, unusually hot, damaged, or hard to reach safely, stop instead of forcing the cleaning step.
The next practical step
Before starting, identify one exit route for the dust and one surface where it can be collected. If you can keep the fan still, keep the nozzle away from the grille, and keep the power supply closed, the job is ready for a low-airflow test. If any of those conditions are missing, rearrange the work area or use the computer maker’s service route first.